

What is a WordPress favicon and where is it displayed?
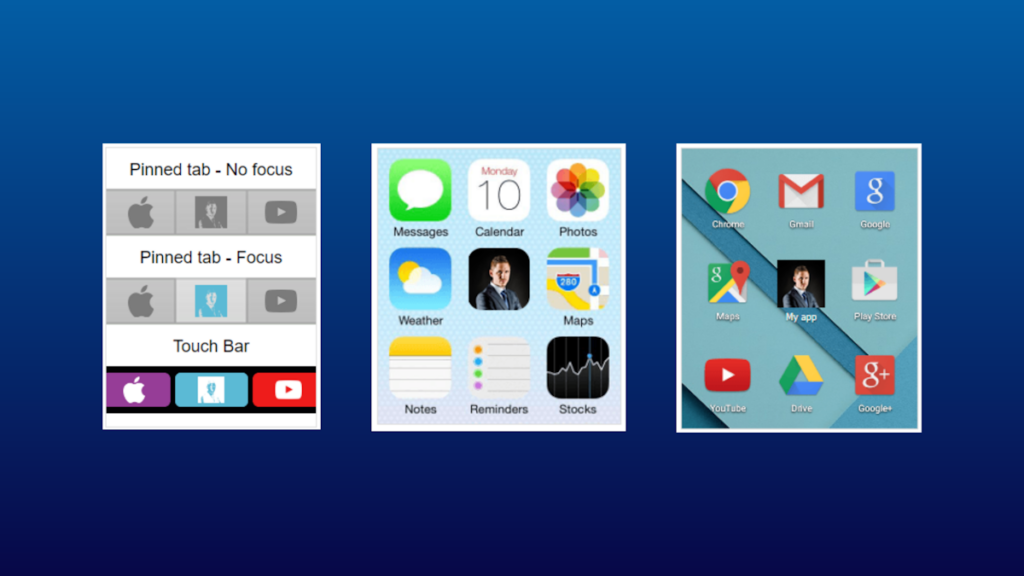
A WordPress favicon is the small, iconic image that is displayed in the browser tab bar and bookmarks.

It is an essential element of your website's visual identity that helps to build brand recognition and create credibility with visitors.
A customized WordPress favicon not only enhances the professionalism of your site, but also makes it easier to find your website quickly on a crowded tab bar or in a full bookmarks folder. All my client websites WordPress Agency therefore receive a customized WordPress favicon.
It is a small but powerful tool for making a lasting impression.
What size should a WordPress favicon be?
For WordPress websites, it is recommended to create the WordPress favicon in a size of 512×512 pixels.
This size specification ensures that the WordPress favicon is displayed clearly and distinctly on all devices and screen resolutions. A 512×512 pixel image offers enough detail to appear razor-sharp even on Retina displays and modern smartphones with a high pixel density.
In addition, this image size allows easy scaling for smaller icons, such as those used in browser tabs, bookmarks and search results.
By adhering to this size recommendation, you ensure that your WordPress favicon always remains professional and recognizable, regardless of where it is displayed.
Insert WordPress favicon with the RealFaviconGenerator
To insert a WordPress favicon with the RealFaviconGenerator for your WordPress website, you can follow the steps below:
Prepare picture:
Make sure you have prepared a square image with at least 512×512 pixels for optimal results. This image can be your logo or another representative symbol.
Visit RealFaviconGenerator:
Go to RealFaviconGenerator.net.
Upload favicon:
Click on "Select your Favicon image" on the website and upload your prepared image.

Configure options:
After uploading the image, the RealFaviconGenerator offers you various options for customizing your favicon. You can make settings for different platforms, such as iOS, Android, Windows and more.
Generate favicon:
As soon as you are satisfied with the settings, click on "Generate your Favicons and HTML code". The generator will now create various favicon formats and the required HTML code.
Download files:
Download the favicon package provided by the generator.
Edit WordPress website:
Log in to your WordPress website and go to the "Design" section and then to "Customizer".

Upload favicon/website icon:
In the WordPress Customizer, you will find the option "Site Identity" or "Website Information". There you can upload the site icon that serves as the favicon. Select the appropriate icon from the package provided by RealFaviconGenerator.

Insert HTML code:
Some of the extended icons and applications require additional HTML code, which the RealFaviconGenerator has provided. You can add this to the "Header" section of your WordPress theme or use a plugin that allows you to add code snippets. If you are not confident in doing this yourself, ask your WordPress Support for help.
Attentionthis is only sample code. Please use the original code from RealFaviconGenerator.
Publish changes:
Save your changes and publish them. Your new website icon should now be active on your WordPress website and display correctly in browser tabs, bookmarks and on mobile devices.
Remember to test your website after adding the WordPress favicon to make sure it displays as expected.
Insert WordPress favicon with FavicoMatic
If you want to use FavicoMatic to insert a favicon in WordPress, the process would look like this:
Prepare picture:
First, you should prepare a suitable image. This should ideally be 512×512 pixels in size to ensure the best quality across different devices.
Visit Favicomatic:
Open Favicomatic.com.
Upload image:
On the website you will find an option to upload your image. Select your prepared image and upload it.

Generate favicon:
FavicoMatic now generates different favicon sizes that you need. These include not only the standard sizes for web browsers, but also the sizes for iOS devices, Android devices and more.
Download the favicon package:
After FavicoMatic has generated the favicons, you can download the entire package, which contains all the necessary file formats and sizes.
WordPress Dashboard:
Log in to your WordPress dashboard and navigate to the "Design" > "Customizer" section.
Site Identity:
In the Customizer, you should look for the "Site Identity" option. Here you can upload the favicon, also known as the "site icon".
Upload favicon:
Select the appropriate favicon from the downloaded package. WordPress usually allows the upload of .png files, which are provided by FavicoMatic.
Publication:
Publish the changes and your new favicon should appear on your website.
Please note that the favicon in WordPress is sometimes not visible immediately after uploading due to caching. It may be necessary to clear the cache of your browser and possibly also the cache of the hosting server in order to see the changes.
Insert HTML code
Alternatively, you can of course also insert the code from FavicoMatic into WordPress. Attention, this is only sample code, please use the original code from FavicoMatic:
In addition, the files must be unpacked after downloading FavicoMatic and uploaded to a suitable directory on the web space using an FTP program.
WordPress favicon with the WordPress Customizer (also works with Elementor)
To insert a favicon directly in WordPress using the Customizer - a process that is also compatible with page builders such as Elementor - you can follow the steps below:
Prepare picture:
Create a favicon image, which should ideally be 512×512 pixels in size. This image can be a miniaturized logo of your brand or another relevant symbol.
WordPress Dashboard:
Log in to your WordPress dashboard and navigate to the "Design" or "Appearance" area.
Open Customizer:
Select "Customizer" or "Customize" from the design options.
Site Identity:
In the Customizer you will find the section "Site Identity" or "Website Information". Here there is an option to upload the site icon, which acts as your favicon.
Upload favicon:
Click on the button to upload an image and select your prepared 512×512 pixel image. After uploading, you can crop the image, but it is recommended to use it in full size.
Publish:
After the image has been uploaded, you can see a preview of your favicon. If everything looks correct, click on "Publish" to save the changes.
Review:
After you have added the favicon, you should visit your website and make sure that the favicon is displayed correctly in the address bar of the browser and in the browser tabs. It may be necessary to clear the cache if the favicon does not appear immediately.
Elementor consideration:
If you are using Elementor, you may not need to perform any additional steps as the page builder follows the WordPress Customizer settings. However, if Elementor has specific settings for favicons, make sure that these match the WordPress Customizer.
Adding a favicon via the WordPress Customizer is a quick and easy process that requires no additional plugins or tools and provides an instant visual improvement to your website.
Plugins for inserting a favicon in WordPress
To avoid unnecessary plugins and the associated effort for WordPress maintenance I recommend the procedures described above. Unfortunately, sometimes it is not possible without plugins, so here is a short list of recommendations:
The role of favicons in branding and user experience
WordPress favicons play a subtle but important role in building strong branding.
You reinforce your brand identity with consistent visual elements that reflect your WordPress Web Design make it unmistakable.
In the context of the user experience, they act as visual anchor points that help users to quickly identify your website and navigate between different tabs efficiently. In a world where attention spans are constantly decreasing, a well-designed favicon can increase user engagement and strengthen brand loyalty.
Favicon formats and browser compatibility
WordPress favicons must be available in various formats to ensure comprehensive browser compatibility.
The most common formats are ICO, PNG and SVG. While ICO files have traditionally been used for favicons, PNGs and SVGs offer more flexibility in terms of resolution and size.
It is crucial that you provide your favicon in all required formats to ensure that it displays correctly in all browsers, including those on mobile devices and tablets.
How to optimize favicons for different devices and screen resolutions
In a world where the internet is used on a variety of devices with different screen resolutions, your favicon in WordPress needs to look good on every device.
This requires that you create multiple versions of your website icon to ensure that it remains sharp and recognizable on all devices.
Responsive design practices recommend creating the icon in a range of sizes, from 16×16 pixels to 192×192 pixels, to fit different devices, from smartwatches to high-resolution displays.
SEO aspects of favicons - Do they influence the ranking?
While WordPress favicons per se have no direct influence on SEO ranking, they do play a role in the factors that influence user behavior.
A well-designed icon can increase the click-through rate in search results when your website appears in the bookmark list. It can also improve user engagement on your site, which can indirectly increase SEO value. Google has also started displaying favicons in mobile search results, which further increases their importance for visibility and brand presence.
Favicon updates - how and when to update them
WordPress favicons are an integral part of brand identity in the digital space. An update should be considered when the corporate design changes to maintain consistency across all branding elements. Technological advances or changes in device and browser requirements may also necessitate an update to ensure the best display and functionality. The update process is similar to the initial setup of the WordPress favicon: Create a new file, upload it to the WordPress Customizer, and remove old WordPress favicon files to avoid cache confusion. If you don't feel confident doing this yourself, simply ask Your WordPress freelancer or a WordPress Developer for advice.
Checking your favicon - tools and techniques
After you have inserted your WordPress favicon, it is important to check its appearance on different platforms. Tools such as the RealFaviconGenerator offer a preview function that allows you to see how your favicon looks in WordPress on different devices and browsers. In addition, there are browser add-ons and online checkers that ensure your favicon is implemented correctly and displays without problems. Pay attention to the resolution, size and design to ensure that your WordPress favicon is consistent and recognizable everywhere.
Legal considerations - copyright and favicons
When designing a WordPress favicon, you must ensure that all elements used are either copyright-free or that you have the necessary rights to do so. This applies to images, logos and fonts. Using protected elements without permission can lead to legal problems. It is advisable to always clarify the copyright situation when creating or commissioning a WordPress favicon to ensure that your favicon in WordPress does not infringe any third-party rights.
Case studies - How successful brands design their favicons
Successful brands use WordPress favicons to maximize their visibility and recognition. Analysis shows that effective WordPress favicons often use simple but striking designs that are easily recognizable even at a small scale. They stay true to the brand identity in terms of color and style and are updated regularly to maintain relevance and freshness. Case studies from major brands such as Google, Apple and Microsoft show that they make consistent updates to coincide with major brand refreshes or to respond to new technological standards.
